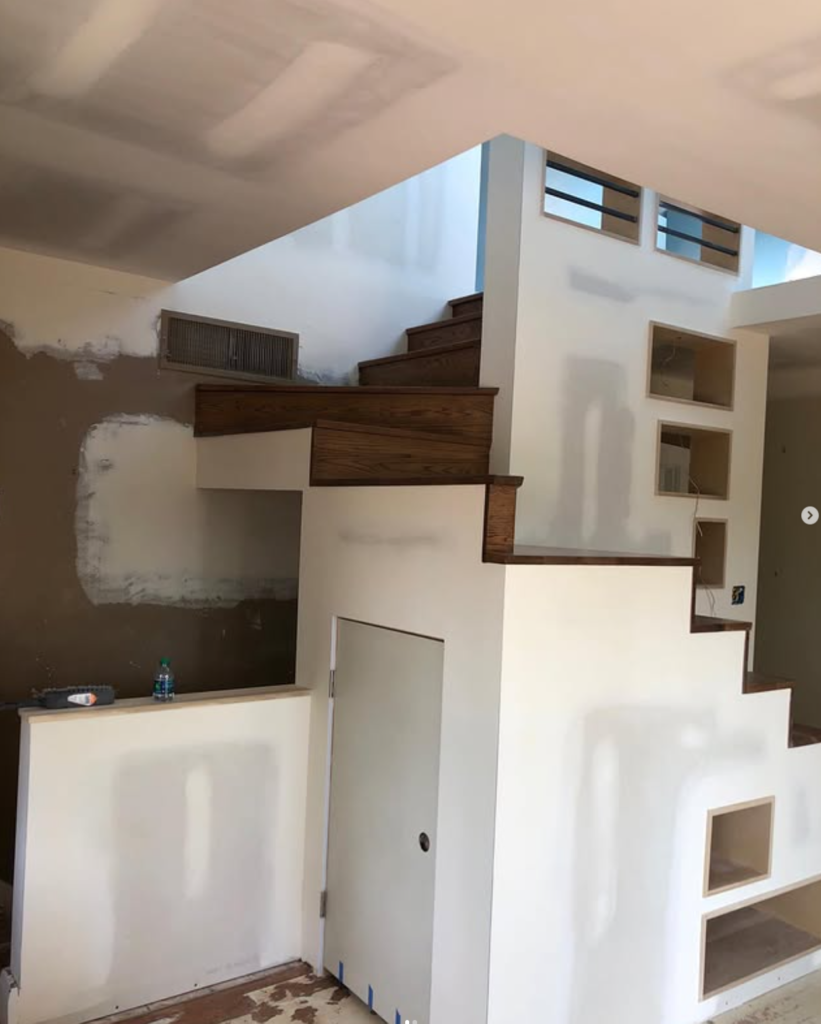
Drywall damage is common in both residential and commercial properties. Small holes from wall anchors, dents, cracks, water damage, accidental impacts, and larger damaged areas can make an otherwise finished space look unfinished. Fortunately, professional drywall patching and repair can restore damaged walls and ceilings without necessarily requiring a complete replacement.
Understanding what happens during a drywall repair can help homeowners and property owners know what to expect from the process.
1. Inspection of the Damaged Area
The repair process typically begins with an inspection of the damaged drywall. The contractor will determine the size, depth, and cause of the damage and check whether there are any underlying issues that need to be addressed first.
For example, a small nail hole may require a simple patch, while a larger opening, recurring crack, or water-damaged section may require more extensive work.
Identifying the cause of the damage before making the repair is important because repairing the drywall without addressing an underlying problem may result in the damage returning.
2. Preparing the Area
Before beginning the repair, the surrounding area is prepared to protect floors, furniture, fixtures, and other finished surfaces.
Loose or damaged drywall material may be removed, and the damaged edges are cleaned and prepared so the new patch can be properly installed.
For larger repairs, additional backing or framing may be required behind the drywall to provide proper support for the replacement section.
3. Installing the Drywall Patch
The next step depends on the size and location of the damage.
Small holes and dents may only require patching compound or a suitable repair material. Larger openings may require a new piece of drywall to be cut and secured into place.
The goal is to create a stable repair that sits properly with the existing wall surface.
For projects involving extensive wall damage, remodeling, or new construction, professional drywall installation and framing may be required rather than a simple patch.
4. Taping and Applying Joint Compound
Once the patch is installed, the repair area is taped and covered with joint compound. Multiple coats may be necessary to create a smooth transition between the repaired area and the existing drywall.
Each coat needs adequate time to dry before additional compound is applied. Professional drywall contractors carefully build up and feather the compound to minimize visible edges.
This step is especially important when repairing drywall in areas that receive strong natural or artificial lighting, where imperfections can become more noticeable.
5. Sanding and Smoothing
After the joint compound has dried, the area is carefully sanded and smoothed.
The objective is to create a flat, even surface that blends with the surrounding drywall. Professional preparation at this stage can make a major difference in how seamless the final repair looks.
Depending on the damage and existing wall texture, additional compound, sanding, or surface preparation may be necessary.
6. Matching the Existing Texture
Not every wall has the same finish. Some surfaces are smooth, while others may have a textured finish.
When possible, the repaired area is textured to match the surrounding wall or ceiling. Matching the existing texture helps the repair blend more naturally into the rest of the room.
7. Priming and Painting
After the drywall repair is properly finished, the surface may need to be primed before painting. Primer helps prepare the repaired area for paint and can improve the consistency of the final finish.
For the best result, the new paint should match the existing wall color and sheen as closely as possible. In some situations, painting the entire wall may provide a more uniform appearance.
Common Types of Drywall Damage
Professional drywall repair may address a variety of issues, including:
- Small holes from nails and screws
- Large holes and impact damage
- Cracks around drywall seams
- Dents and damaged corners
- Water-damaged drywall
- Damaged ceiling drywall
- Drywall damaged during remodeling
- Wall openings from electrical or plumbing work
- Damaged drywall around doors and windows
When Should You Repair or Replace Drywall?
Not every damaged section needs to be completely replaced. Small holes, dents, cracks, and localized damage can often be repaired effectively.
However, severely damaged, extensively cracked, or water-damaged drywall may require removal and replacement. A professional contractor can evaluate the condition of the drywall and determine the most appropriate solution.
Professional Drywall Repair Makes a Difference
A quality drywall repair is about more than simply covering a hole. Proper preparation, patching, taping, mudding, sanding, texturing, and finishing all contribute to a clean final result.
Whether you’re dealing with a small wall repair or a larger remodeling project, professional drywall contractors can help restore damaged surfaces and prepare them for a smooth finished appearance.
If your home or commercial property needs drywall patching, drywall repair, installation, taping, finishing, or related framing work, consider scheduling an assessment to determine the right solution for your project.